| User's Manual | Administrator's Manual | Installation Guide | Initial Settings Guide |
Installation Guide - Solaris Version (using Denbun IMAP update version [tar file])
This explanation assumes that the server OS is a Solaris and the web server is using Apache Server.
Please refer to the system requirements on the product web site for Linux distribution supported.
The following installation process is assuming that the executable directory is "/var/apache/cg-bin/dnwml" and Denbun is installed there.
* It is not possible to uninstall Denbun IMAP Update version only.
|
1. Upload the file to the server
Upload the file you downloaded to the server by using FTP tools (freeware or Windows FTP command).
2. Login by using telnet
Login to the server by using telnet tool (freeware or Windows telnet tool).
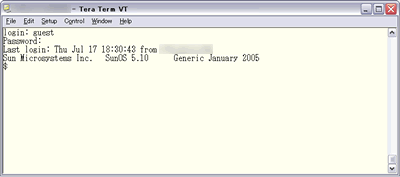
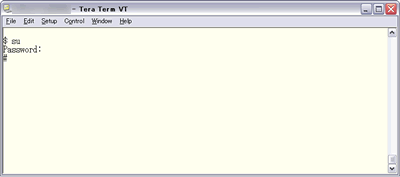
3. Switch to root user
Use su command to switch to the root user.
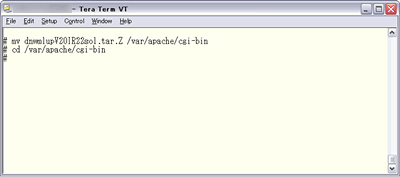
4. Extract archive
Move uploaded file to the directory that Denbun is installed. It assumes that the installation directory is "/var/apache/cgi-bin".
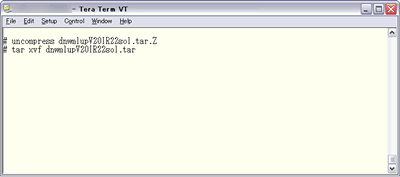
Extract the tar file by using uncompress and tar commands.
6. Change owner
Change the owner of the directory "dnwml" that Denbun is installed.
If Denbun is installed in "/var/apache/cgi-bin/dnwml", set "User ID" and "Group ID" of the directory to the user who provides HTTP service.
(It assumes that both "User ID" and "Group ID" is "nobody")
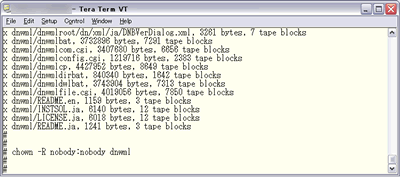
6. Move dnwmlroot to document root
Move dnwmlroot directory extracted to the web server's document root.
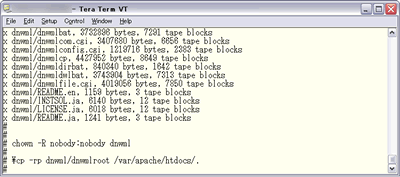
* Please overwrite all the files.
* dnwmlroot directory might not be included in certain type of update module.
* After copying all the files in dnwmlroot, you can delete dnwmlroot directory in dnwml.
8. Run convert module
After the installation, convert the data.
To convert the data, use the following command.
* The directory "UPD_VxxRxx_VxxRxx" might not be included in certain type of update module.
If the directory does not exist, you do not have to execute the convert module.
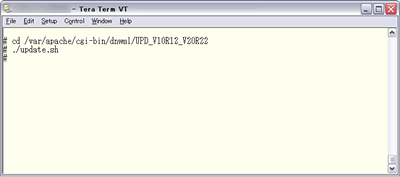
If anything is displayed after executing update.sh, the conversion terminated normally.
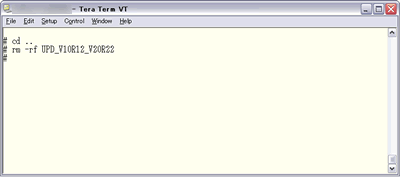
After the conversion, delete the directory, UPD_VxxRxx_VxxRxx.
If you need the log, move UPD_VxxRxx_VxxRxx/log to any directory.
8. Access to Denbun
After complete the above steps, use browser such as Internet Explorer to access to Denbun.
URL e.g.
http://(servername)/cgi-bin/dnwml/dnwmlconfig.cgi?
* Your server's IP Address or Host name should be specified in "servername".
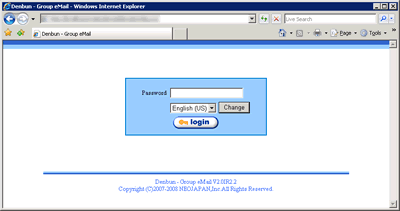
Make sure that the updated version number is displayed on the login screen.
1. Uninstallation
If you uninstall Denbun update version only, Denbun will never work.
Please never uninstall the update version.
* Please be careful because you are root user.
|
Copyright (C) NEOJAPAN Inc. All Rights Reserved. |