| User's Manual | Administrator's Manual | Installation Guide | Initial Settings Guide |
Installation Guide - Windows Version (using Denbun IMAP update version)
This explanation assumes that the server OS is Windows 2003 and the web server is IIS
Before installation, please make sure System Requirements .
Please refer here for uninstallation.
Please setup your server before installation.
|
1. Start Installation
Denbun may now be installed.
If the server is Windows Server 2003 and you are not logged on as an administrator, please log off and log on as administrator. Double click the file you installed to start the installation.
To start the installation, double click the file you downloaded.
When you start the installer, the following message may be displayed.

This dialog message appears if the installer detects that Microsoft .NET Framework 2.0 is not installed. If you wish to use the download messages function, choose "Yes" and install Microsoft .NET Framework 2.0 prior to install this install module. If you do not wish to use the download messages function, choose "No".
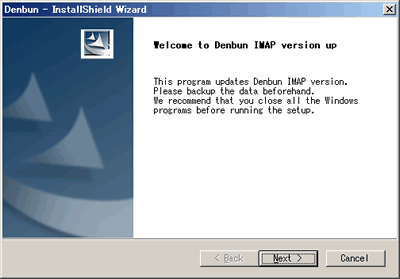
Click "Next" button.
2. Read Software License Agreement
On the first screen, you will see the Software License Agreement. Please read the agreement carefully.
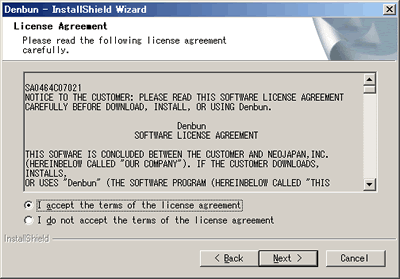
If you agree the Software License Agreement, click "Next" button.
3. Destination directory for Denbun modules
Select the destination of the current version of Denbun.
The folder contains dnwml.exe is the destination of Denbun.
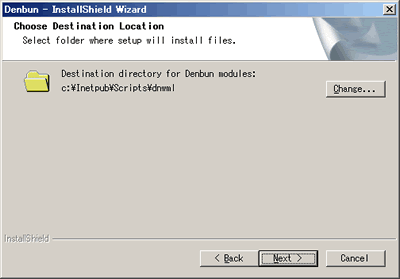
If you are using IIS, you may not have to change the default. Click "Next" button.
4. Select the home directory
* This selection may not be asked in certain type of update version.
Select the home directory of the current version of Denbun.
The folder contains dnwmlroot folder is the home directory of Denbun.
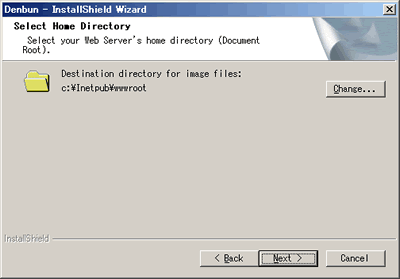
If you are using IIS, you may not have to change the default. Click "Next" button.
5. Destination directory for Denbun for Mobile modules
* This selection may not be asked in certain type of update version.
* If you have not installed Denbun for Mobile, this is not asked.
Select the destination of the current version of Denbun for Mobile.
The folder contains dnmwml.exe is the destination of Denbun.
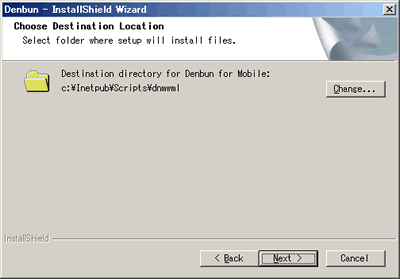
If you are using IIS, you may not have to change the default. Click "Next" button.
6. Confirm
The confirmation screen is displayed.
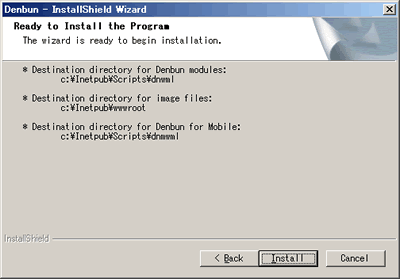
Click "Install" button after the confirmation.
Copying files will be started. Please wait for awhile.
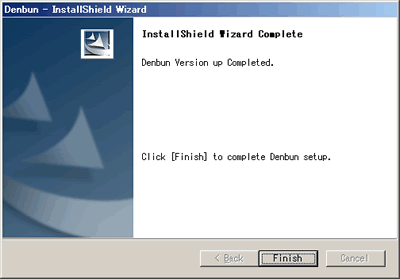
7. Installation complete
After copying files completed, the installation is finished.
8. Security Measure [Important]
After installation, configure the web server.Configure the setting below so that the data folder for Denbun cannnot be executed from browsers.
* Even though Denbun will still operate without the configuration, please make sure to configure it for security purpose.
* Skip this part if already configured.
9. Confirm the Installation
After complete the above steps, use browser such as Internet Explorer to access to Denbun.
URL e.g.
http://(servername)/scripts/dnwml/dnwmlconfig.exe?
* Your server's IP Address or Host name should be specified in "servername".
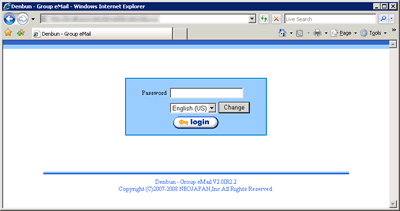
Make sure that the updated version number is displayed on the login screen.
1. Uninstallation
If you want to uninstall Denbun on your server, please open [Control Panel]-[Add/Remove Applications], and choose "Denbun Vxx Rxx version up" and the click "Change/Remove" button.
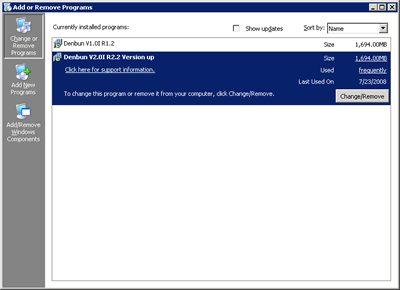
If any data file remains after the uninstallation, please use Explorer to delete the files in the destination directory.
|
Copyright (C) NEOJAPAN Inc. All Rights Reserved. |