Click [Setting] to display [Setting] screen.
Click [Message Filters] link in the left side of the window.

- Create New Filter
-
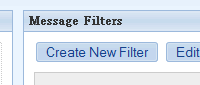
Click [Create New Filter] on the top of the screen.
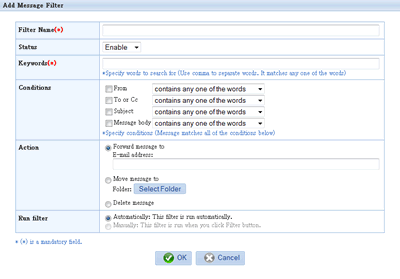
Step 1. Enter the filter name
Enter the name of the filter in [Filter Name] and choose [Enable] or [Disable].
Step 2. Enter the filtering conditions
Specify the filtering conditions. Select options for each field (From, To/Cc, Subject, Message Body) from the pull down menu.
Step 3. Select the action
Select the action for the condition. The following action can be selected.
-
Forward message to
-
Move message to
-
Delete message
Step 4. Choose the [Run filter] option
Specify when running the filter. Choose one of the followings.
[Automatically]: This filter is run automatically.
[Manually]: This filter is run when you click Filter button.
[Filter] in the operation menu =>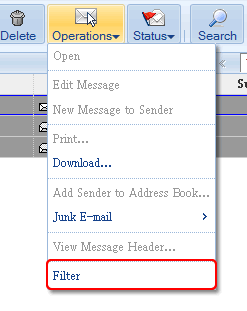
Step 5. Save the changes
Click [OK] to save the changes.
- Edit Message Filter
-
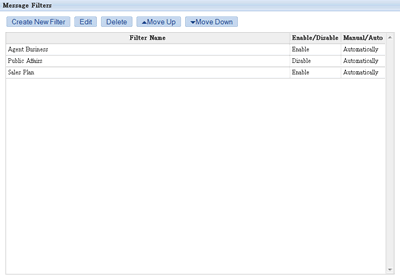
Choose a filter from the list and click [Edit] or [Delete].
You can change the order of the filters by clicking [Move Up] and [Move Down].